Key Takeaways
Buying cheap Mazda 3 series parts Sunshine Coast – cash & carry can work well when you identify the part carefully and inspect it before paying.
- Confirm the Mazda 3 year, generation, engine, transmission, and body style.
- Use the VIN and part number instead of relying on appearance alone.
- Compare the purchase price with removal, transport, installation, and possible return costs.
- Inspect used parts for damage, wear, corrosion, missing fittings, and incomplete assemblies.
- Have safety-critical or technically demanding repairs checked by a qualified mechanic.
Understand your Mazda 3 parts requirements
A low price only helps when the replacement part is genuinely suitable for your car. Before travelling to collect anything, gather the vehicle details and decide exactly what has failed or needs replacing. A few minutes of preparation can prevent a wasted trip and an expensive mismatch.
Identify the model year and generation
Start with the model year, build date, and generation of your Mazda 3. Similar-looking cars can use different brackets, connectors, trim shapes, or control modules depending on when they were produced. Registration details may help, but the build plate, owner documents, and vehicle identification number provide stronger starting points.
Photographs can also be useful when speaking with a seller, especially for body and interior pieces. Take clear pictures from several angles, but treat visual similarity as a guide rather than proof. Exact vehicle details matter when a part is shared across only some production years.
Match the engine, transmission, and body style
Record the engine size and code if available, along with whether the car has a manual or automatic transmission. The sedan and hatchback may share mechanical components while using different doors, bumpers, lights, tailgates, or interior trim. Drivetrain and equipment variations can also affect sensors, wiring, cooling parts, and mounting points.
Ask for the donor vehicle’s matching details before agreeing to buy. If the seller cannot confirm them, compare the old part directly and request measurements or connector photographs. That extra check is worthwhile for parts that are difficult to remove or return.
Use VIN and part numbers for accurate identification
The VIN gives a parts supplier a precise reference for the vehicle, while a stamped or printed part number can identify the component itself. Read every digit carefully and photograph labels before removing the old part. Numbers on housings, brackets, and electronic units may look similar but still indicate different revisions.
A superseded number is not automatically a problem, but it should be checked against a reliable catalogue or parts professional. Ask whether the replacement number is a confirmed substitute for your vehicle rather than assuming that a close sequence is compatible.
Separate mechanical, electrical, body, and interior parts
Sort your search into a clear category. Mechanical items such as engines, transmissions, suspension pieces, and cooling components need different checks from electrical modules or body panels. Interior parts often depend on colour, trim level, seat configuration, and whether the vehicle has optional equipment.
This distinction also helps you set a sensible budget. A used door may need paint and hardware, whereas a replacement control module may require programming after installation. Knowing the category makes it easier to compare the real cost rather than judging every part by its sticker price.
Find reliable used Mazda 3 parts on the Sunshine Coast
The Sunshine Coast has different ways to source used vehicle components, from established dismantling yards to online listings and direct private sales. Each route involves a different balance of convenience, inspection access, documentation, and after-sales support. A cash-and-carry purchase is simplest when the part is visible, removable, and easy to verify on site.
Compare auto recyclers, wreckers, and private sellers
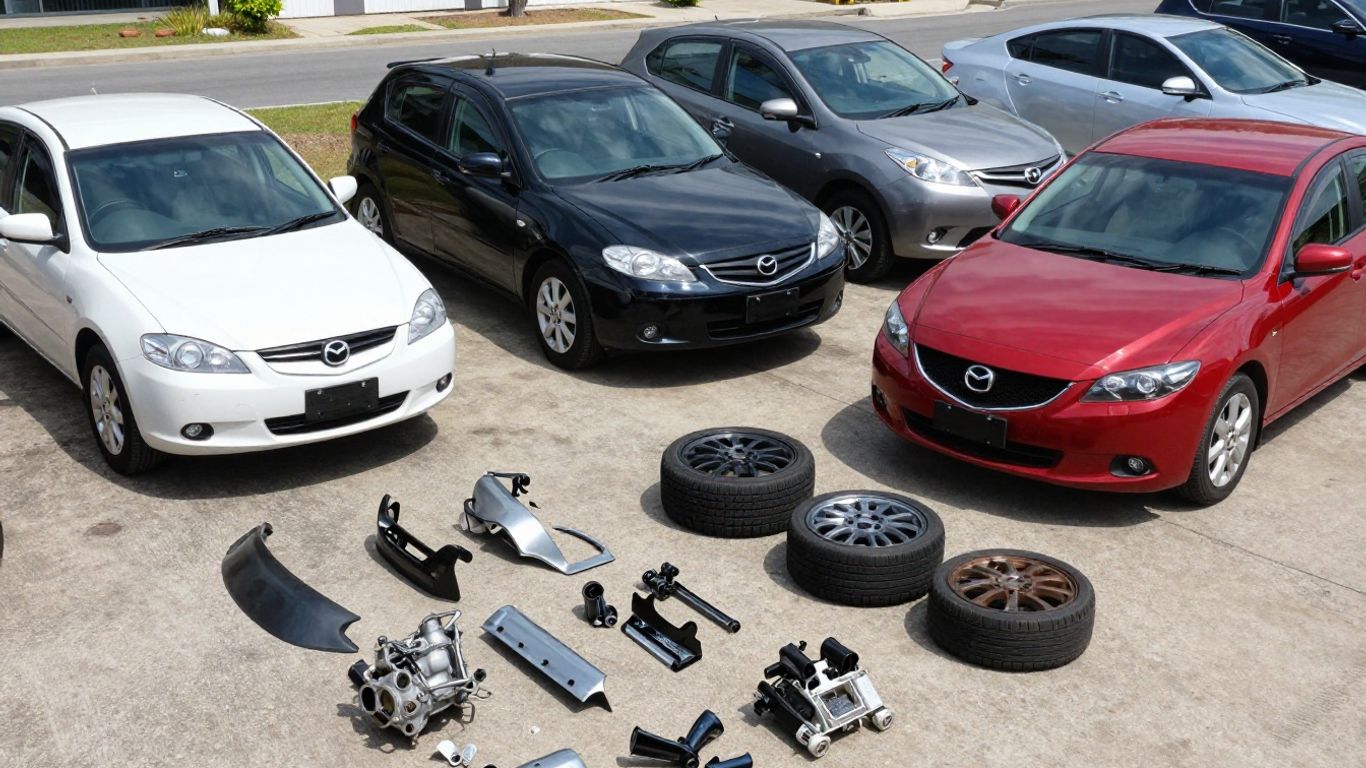
An auto recycler or wrecker may be able to identify donor-vehicle details and offer several related components at once. A private seller might have a lower asking price, particularly for cosmetic or leftover repair parts, but may provide less information about the part’s history. Compare like for like: condition, completeness, testing, warranty, and whether removal is included.
Do not let a broad inventory or a polished listing replace a compatibility check. Ask where the part came from, whether the donor vehicle was running, and whether the seller has recorded its identification details. Clear answers are a useful sign that the transaction has been handled carefully.
Check local availability before making the trip
Call or message before driving across the Sunshine Coast. Confirm that the exact part is still available, not merely that a similar Mazda 3 appears in a stock photograph. Ask whether it is already removed, where it can be inspected, and whether someone can hold it for a reasonable period.
Bring your VIN, part number, vehicle photographs, and measurements when you go. If the part is large, check its dimensions and lifting requirements in advance. This prevents a successful purchase from turning into a second trip because it will not fit in your vehicle.
Assess seller reputation, warranties, and return policies
Read recent customer feedback with attention to accuracy, communication, and how problems were handled. A warranty should be clear about its duration, exclusions, and whether labour, freight, or diagnostic costs are covered. For cash-and-carry purchases, ask whether the return policy changes once a part has been removed from the premises.
Get important terms in writing on the invoice or receipt. A verbal assurance about compatibility is difficult to rely on later, especially when the part is electrical or requires substantial installation work. A straightforward return process can be worth more than a very small saving.
Ask whether parts are tested, cleaned, or refurbished
“Used” does not describe one consistent condition. Ask whether the component was tested, cleaned, inspected, or refurbished, and find out what that testing involved. For an engine or transmission, ask what operating information is available; for a lamp or module, ask whether its functions were checked.
The answer should match the type of part. Cleaning may improve presentation without proving mechanical health, while refurbishment may involve replacement seals or other work that should be documented. Use the information to decide whether the price reflects the actual condition.
Compare prices before choosing cash and carry parts
Cash and carry can reduce waiting and delivery charges, but the cheapest advertised figure is not always the lowest finished cost. Compare a used part with aftermarket and new genuine alternatives, then include the work needed to remove, transport, prepare, and fit it. The right choice depends on risk as well as price.
A simple written comparison keeps the decision grounded. It also helps when a seller offers a bundle or suggests a different part that looks similar but has not been confirmed for your vehicle.
Evaluate used, aftermarket, and new genuine alternatives
Used parts are often attractive for older vehicles or cosmetic repairs, particularly when the component is readily inspected. Aftermarket parts may offer a new option at a different price, but quality, fit, finish, and warranty terms vary by supplier. New genuine parts can make sense when reliability, exact finish, or a safety-related specification is especially important.
Compare the same scope in each quote. A price for a bare component is not equivalent to one that includes brackets, bulbs, sensors, seals, or mounting hardware. Ask what is included before deciding that one option is cheaper.
Calculate the total cost including removal and transport
A self-service yard may require you to remove the part, while another seller may charge for removal but save you time and tool work. Add fuel, freight, packaging, lifting help, consumables, and any replacement clips or fasteners. For heavy components, transport can change the result more than the initial discount.
The following comparison is a useful way to frame the decision before paying:
| Cost element | Used cash-and-carry | Removed used part | New alternative |
|---|---|---|---|
| Part price | Lower starting price | Moderate starting price | Higher starting price |
| Removal effort | Buyer manages it | Usually included | Not applicable |
| Transport | Buyer arranges it | May be quoted separately | Often quoted separately |
| Condition risk | Requires close inspection | Depends on testing | Usually lower uncertainty |
The figures will vary, but the categories prevent overlooked expenses. If a used part needs repainting, cleaning, seals, programming, or repeated trips, its practical saving may be much smaller than it first appears.
Negotiate fairly when buying multiple parts
A reasonable bundle discussion works best when you know the individual value of each component. Explain that you are buying several compatible items and ask whether the seller can adjust the combined price or include removal. Keep the request specific rather than making an unsupported offer on an unknown-condition part.
Check the condition of every item before accepting a package deal. A discounted bundle is not a bargain if one unwanted or damaged component is included, particularly when the sale is final. Agree on the parts and total price before removal begins.
Recognize unusually cheap prices and hidden costs
A price far below comparable listings deserves questions, not immediate excitement. It may reflect missing hardware, severe wear, flood or impact damage, an untested component, or a part that does not match your vehicle. Ask why it is discounted and whether the seller has identified any known defect.
A cheap part is only a saving when it solves the original problem without creating another one.
Use that test alongside the return terms and installation estimate. If the seller avoids basic questions or cannot identify the donor vehicle, the risk may outweigh the discount.
Inspect Mazda 3 parts before buying
Inspection is the point where a promising listing becomes a sound purchase or a clear rejection. Take enough time to look at mounting points, connectors, wear surfaces, and signs of impact or moisture. If you cannot test a component fully, make that limitation part of your price and warranty decision.
Check body panels, lights, and exterior components
For doors, guards, bonnets, bumpers, and hatch panels, inspect edges, seams, mounting tabs, and the underside for distortion or repairs. Look for ripples in the metal, uneven paint, cracks in plastic, and broken clips. A panel that appears acceptable from the front may have hidden damage around its fasteners.
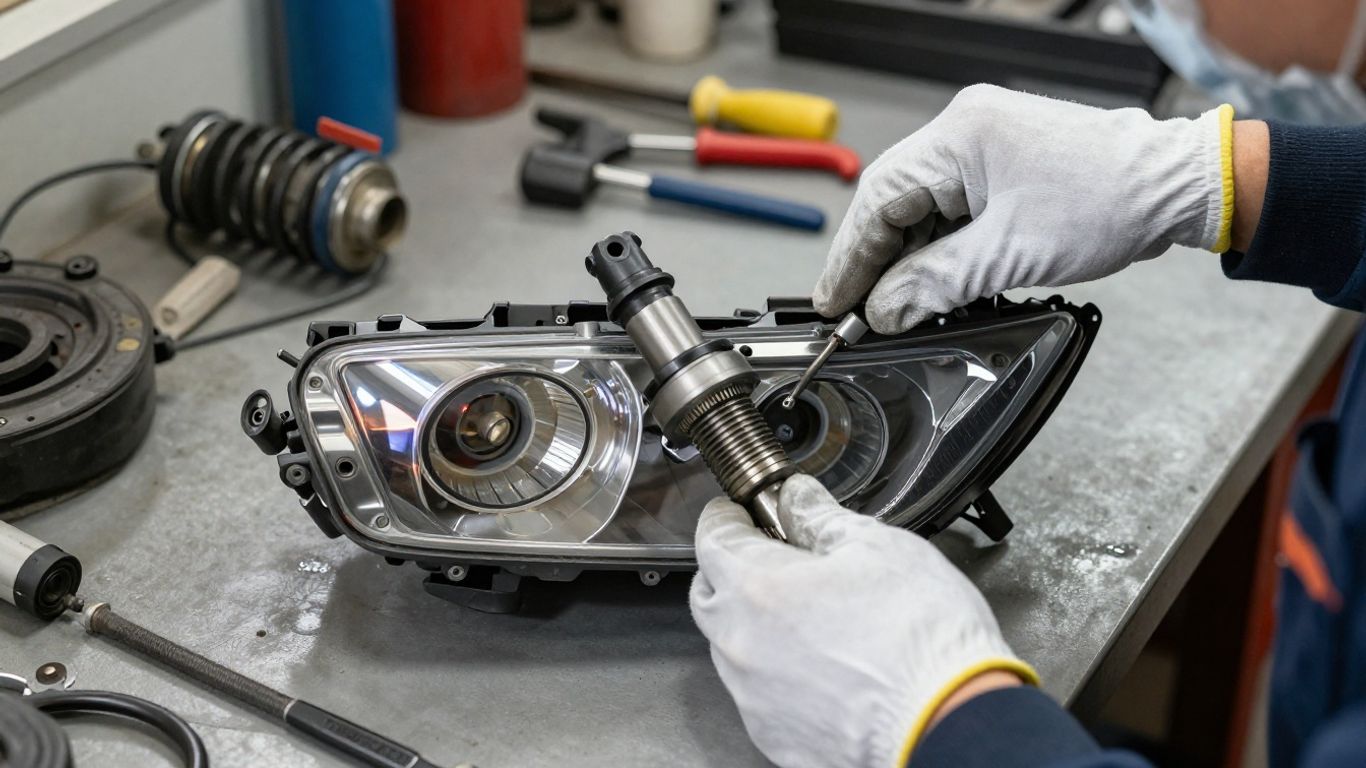
Check lamps for cracked lenses, moisture, cloudy sections, broken mounts, and damaged plugs. Match the connector and mounting arrangement, not just the shape of the housing. If paint colour matters, remember that a panel may still require blending even when its colour code appears to match.
Test engines, transmissions, and suspension parts
Heavy mechanical parts need more than a quick visual check. Look for oil or coolant leaks, damaged housings, bent shafts, cracked mounts, unusual corrosion, and missing sensors or brackets. Ask for mileage and donor-vehicle information where available, and clarify whether the component was tested before removal.
Suspension components should be checked for bent arms, damaged threads, leaking dampers, torn bushes, and worn joints. Some wear items are sensible to replace while the part is being fitted, so include those consumables in the estimate. When testing is impossible, a written warranty becomes particularly valuable.
Examine electrical components for corrosion or damage
Inspect modules, alternators, starter motors, switches, and wiring for water marks, green corrosion, overheated terminals, cracked housings, or pulled wires. Make sure every connector lock is intact and that the pins are straight. A clean exterior does not prove that an electronic component works.
Ask whether the part was tested in a vehicle and whether it needs coding or programming. Keep photographs of the labels and connector layout before installation. Those records can help distinguish a faulty replacement from a wiring or vehicle-side problem.
Confirm wear levels on interior and trim pieces
Interior parts are often judged by appearance, but comfort and fit matter too. Check seat frames, rails, belts, switches, consoles, door cards, vents, and trim clips for cracks, stains, broken tabs, and missing hardware. Compare the colour and texture in natural light where possible.
For seats and restraints, inspect stitching and mounting points carefully and ask about deployment or collision history. A small trim mismatch may be acceptable for a budget repair, while damage to a restraint or its anchor should not be treated as a cosmetic issue.
Buy and transport parts safely
A successful inspection still needs a safe collection plan. Self-service removal can expose you to sharp metal, unstable vehicles, heavy assemblies, and stored energy in springs or restraint systems. Wear suitable clothing and eye protection, and do not rush simply because another buyer is waiting.
Bring the tools needed for self-service removal
Confirm the yard’s rules before arriving and bring only tools that are permitted. A basic kit may include sockets, spanners, screwdrivers, pliers, trim tools, penetrating fluid, gloves, eye protection, a torch, and containers for fasteners. Heavy parts may also require a trolley, lifting aid, or a second person.
Do not improvise with damaged tools or work beneath an inadequately supported vehicle. Photograph cable routes and bracket positions as you go, and label fasteners when several similar pieces are removed. That preparation makes reassembly less confusing.
Protect fragile parts during loading and transport
Wrap lamps, mirrors, painted panels, glass, and electronic modules separately. Use blankets, cardboard, straps, and padding to stop movement, but avoid placing pressure on lenses, connectors, or painted edges. Keep parts upright when their design calls for it and prevent metal components from rubbing together.
Before leaving, make sure the load is stable and cannot shift under braking. Large panels may need a suitable vehicle or professional delivery rather than an improvised arrangement. Damage during transport can erase the saving you made at the counter.
Handle oils, batteries, airbags, and other hazardous components
Treat fluids, batteries, airbags, pretensioners, refrigerant-related components, and contaminated parts as potential hazards. Follow the seller’s handling instructions and local disposal requirements, and never drain fluids onto the ground. Keep batteries upright and protected from contact with metal tools.
Do not probe, cut, heat, or casually transport restraint-system components. If you are unsure how a hazardous part must be removed or carried, stop and ask a qualified professional. Safety should take priority over a lower purchase price.
Confirm the part is complete before leaving
Lay out the component and compare it with your old part before the vehicle disappears from view. Check brackets, sensors, hoses, clips, bulbs, covers, keys, wiring, and fasteners that were meant to be included. Photograph the part number and its condition, then compare the invoice with what is physically loaded.
This is also the time to ask about missing pieces and return conditions. Once the part is installed or altered, proving that an item was incomplete can become much harder. A final ten-minute check is usually easier than arranging another collection.
Install and verify your Mazda 3 replacement parts
Installation is where compatibility and condition are tested in practice. Read the relevant repair information, compare the old and replacement parts side by side, and avoid forcing a component into place. If a replacement does not fit naturally, investigate the mismatch instead of modifying it immediately.
Decide which repairs require a qualified mechanic
Some jobs are manageable for an experienced home mechanic, while others involve lifting equipment, high-voltage systems, fuel pressure, refrigerant, airbags, braking, steering, or suspension geometry. Choose a qualified mechanic when the repair requires specialist tools, calibration, programming, or a safety-critical inspection.
A professional check can also prevent damage to a part that was bought correctly but installed incorrectly. Ask for a written estimate that separates labour, parts, diagnostic work, and any required calibration so the final cost remains clear.
Confirm compatibility during installation
Compare connector shapes, mounting holes, casting marks, dimensions, and included hardware before tightening anything. Check that seals are seated, wiring is routed away from heat and moving parts, and fasteners are replaced in their original locations. Do not assume that a component from the same model name has the same revision.
If the part number differs, pause and confirm the substitution with a parts professional or repair manual. Keep the old component until the replacement has been fitted and tested. Returning the old part too early can remove useful evidence when diagnosing a problem.
Test safety-critical systems after fitting
After installation, check brakes, steering, lights, restraints, warning indicators, fluid levels, and leaks as relevant to the repair. Test the vehicle in a controlled area before normal driving, and stop if there is vibration, noise, a warning light, poor handling, or an unexpected smell.
Some electronic or safety systems may need scanning, coding, calibration, or a road test by a qualified mechanic. Never treat the absence of an obvious noise as proof that a safety-related repair is complete. Verification should match the seriousness of the component.
Keep receipts, warranties, and part details for future reference
Store the receipt, seller contact details, warranty terms, donor-vehicle information, part number, and installation date together. Add photographs of the label and any relevant test results. These records make a later return or diagnostic conversation much more straightforward.
They also create a useful maintenance history if the car is sold or another repair is needed. A careful record turns a one-off cash-and-carry purchase into information you can use again.
Conclusion
Cheap Mazda 3 series parts Sunshine Coast – cash & carry purchases can be worthwhile when the part is correctly identified, honestly priced, carefully inspected, and transported safely. Take the time to compare the complete cost and match the repair to your own skills; a dependable replacement is worth more than a tempting part that creates another problem.