
So, you’re thinking about giving your Mazda a little glow-up, specifically with its lights? It’s not just about making your car look cool, though that’s definitely part of it. Better Mazda headlights and tail lights mean you can see more of the road and, just as importantly, other drivers can see you better. Whether you’re dealing with dim factory bulbs or just want a more modern look, upgrading your Mazda’s lighting is a pretty smart move. Let’s talk about what’s out there and how you can get it done.
Key Takeaways
- Switching to LED or HID bulbs for your Mazda headlights makes a big difference in how well you can see at night and how visible your car is to others.
- There are a few ways to upgrade your Mazda headlights, from simple plug-and-play LED bulbs to full projector assemblies, each with its own cost and effort.
- Replacing your Mazda headlights involves some prep work, like gathering tools and disconnecting the battery, and then carefully removing the old bulb and installing the new one.
- After installing new Mazda headlights, it’s super important to adjust the beam correctly so you don’t blind other drivers and can actually see the road ahead.
- When looking at new Mazda headlights and tail lights, think about how long they’ll last, if they’ll fit your car right, and if they meet local rules for car lighting.
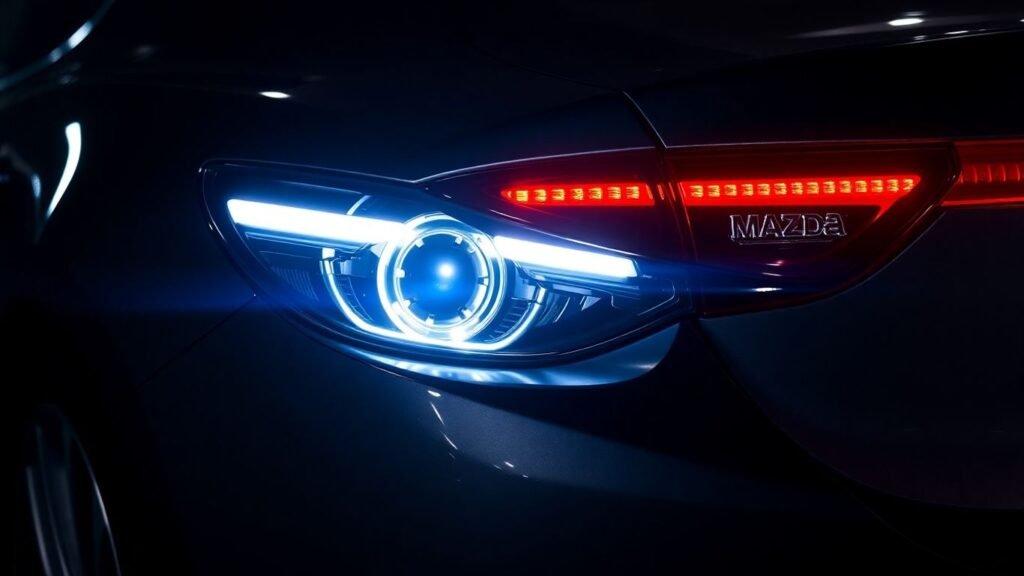
Enhancing Your Mazda’s Visibility with Upgraded Headlights
Driving at night or in bad weather can feel a bit dicey if your Mazda’s headlights aren’t cutting it. Those stock halogen bulbs, while functional, often leave a lot to be desired when it comes to how much you can actually see. Upgrading your headlights isn’t just about making your car look cooler, though that’s a nice bonus. It’s really about being able to spot hazards, pedestrians, and road signs sooner, which is a big deal for safety.
The Benefits of LED and HID Headlight Technology
When you start looking into headlight upgrades, you’ll quickly run into two main players: LED and HID. Both offer a significant jump in brightness and clarity compared to traditional halogen bulbs. LEDs are super popular because they’re energy-efficient, last a really long time, and turn on instantly. Think of them as the modern standard. HID (High-Intensity Discharge) lights, on the other hand, produce an even more intense light, often with a distinct bluish-white hue. They’re known for their sheer power, but they do require a ballast to regulate the electricity, which adds a bit more complexity to the installation.
| Technology | Typical Lifespan (Hours) | Brightness vs. Halogen | Power Consumption | Installation Complexity |
|---|---|---|---|---|
| Halogen | 1,000 | 1x | Standard | Simple |
| LED | 25,000 – 50,000 | 2x – 3x | Lower | Simple (Plug-and-Play) |
| HID | 2,000 – 3,000 | 3x+ | Higher | Moderate (Requires Ballast) |
Upgrading your headlights can make a noticeable difference in how well you can see the road ahead, especially on dark, winding roads. It’s a practical change that directly impacts your confidence behind the wheel.
Choosing the Right Headlight Upgrade for Your Mazda
So, where do you start? For most folks, a simple LED bulb replacement is the easiest way to go. These are designed to fit right into your existing headlight housing, often just plugging into the factory connector. It’s a straightforward swap that gives you brighter, whiter light without much fuss. If you’re looking for the absolute brightest light possible and don’t mind a bit more work, an HID kit might be your ticket. Just remember you’ll need to find a place to mount the ballasts. These kits can really cut through the darkness, but make sure they’re aimed correctly so you don’t blind other drivers.
Full LED Projector Assemblies for a Modern Look
For those who want a complete transformation, a full LED projector assembly is the way to go. This isn’t just a bulb swap; it’s replacing the entire headlight unit. These assemblies often come with integrated daytime running lights (DRLs) and turn signals, giving your Mazda a really modern, high-end look. They’re designed to provide a very focused and controlled beam pattern, which means better visibility for you and less glare for oncoming traffic. While these are usually the most expensive option, they offer the most significant upgrade in both performance and aesthetics.
A Step-by-Step Guide to Replacing Your Mazda Headlights
So, you’ve decided to swap out those old headlights on your Mazda. It might seem a bit daunting, but honestly, it’s often a manageable DIY job if you take your time. Think of it like assembling some slightly complicated furniture – just follow the steps and don’t force anything.
Essential Preparation and Tool Gathering
Before you even think about touching your car, get your ducks in a row. You’ll want to park your Mazda on a level spot, ideally in a well-lit garage or driveway. Turn off the engine and, for good measure, disconnect the negative battery terminal. This just adds a layer of safety, preventing any accidental shorts while you’re working with electrical components. Gather your tools: you’ll likely need a set of screwdrivers (Phillips and flathead), a socket wrench set, a flashlight or headlamp (because who knows what’s lurking in those dark corners?), and some work gloves to keep your hands clean and protected. Having a small tray or some containers to hold screws and clips is a smart move; losing a tiny piece can turn a simple job into a headache.
Accessing the Headlight Housing
This is where things can get a little different depending on your specific Mazda model and year. Some cars make it pretty easy, letting you reach the bulb right from the engine bay. Look for a round plastic cover on the back of the headlight assembly. You might need to twist it off. Sometimes, you might have to move a few things around in the engine bay, like an air intake hose, to get a clear shot. If that doesn’t work, you might need to remove the front bumper. This sounds like a big deal, but it’s usually just a matter of unscrewing a bunch of clips and bolts around the edges and in the wheel wells. It opens up a lot more room to work. Another option on some models is to pull back the fender liner inside the wheel well. It’s a tighter squeeze, but it can save you the trouble of removing the whole bumper. Taking pictures as you go, especially before you disconnect anything or remove parts, is a lifesaver for reassembly.
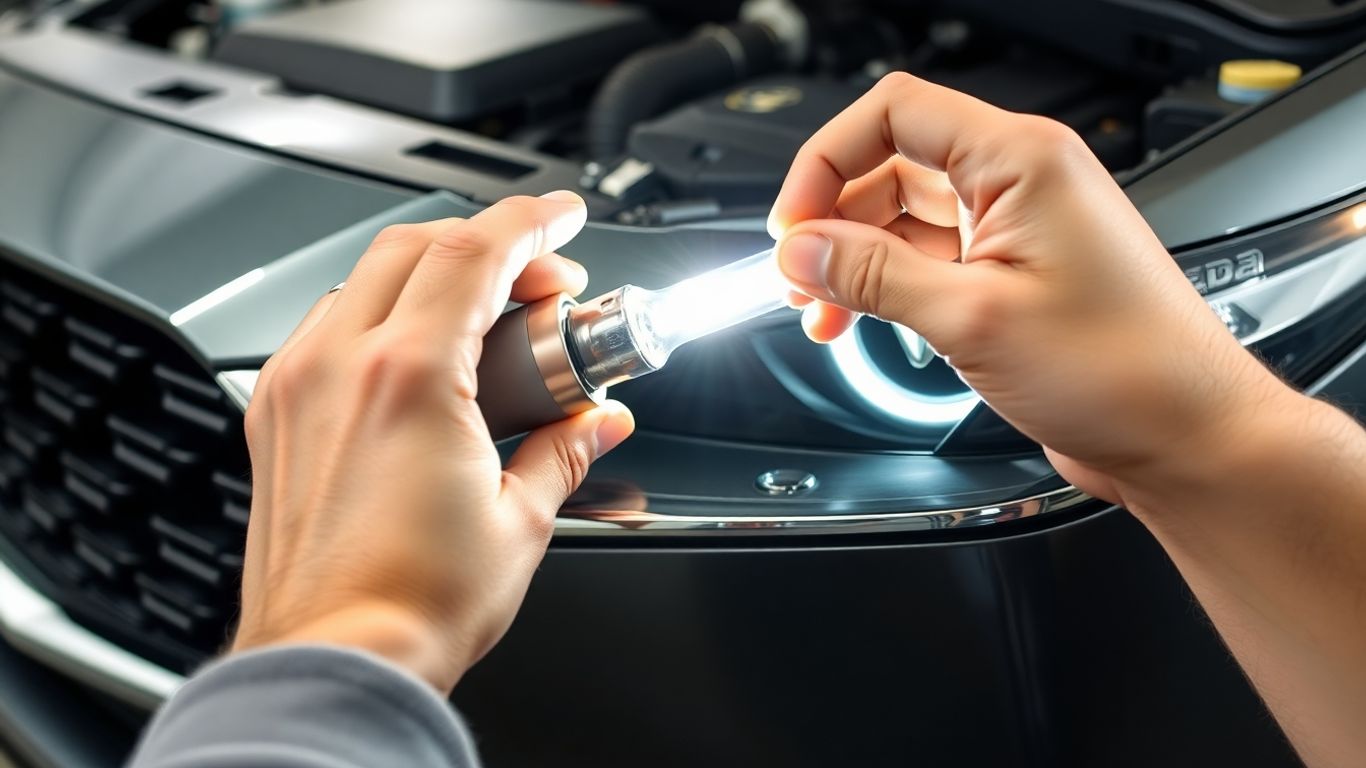
Replacing the Old Halogen Bulb
Once you’ve got access to the back of the headlight housing, it’s time to swap the bulb. First, find that round dust cover if you haven’t already removed it. It usually has arrows showing which way to turn it to unlock. After removing the cover, you’ll see the electrical connector attached to the bulb. There’s usually a small tab you need to press to release the connector. Pull it straight back – never yank on the wires themselves. Next, look for how the bulb is held in place. Some have a spring clip that you’ll need to gently push and unhook. Others are twist-and-lock; you’ll turn the bulb base counter-clockwise until it comes free. Be careful when removing the old bulb; if the lights were on recently, the glass can be quite hot. Always handle it by the metal base. Before putting in the new bulb, take a quick look inside the socket. If it looks dirty or corroded, a quick spray with electrical contact cleaner can help ensure a good connection.
Installing the New Bulb and Final Checks
Now for the new bulb. Handle the new bulb by its base, avoiding touching the glass with your bare fingers, as oils from your skin can shorten its life. Carefully insert the new bulb into the socket, making sure it’s oriented correctly. If it was a twist-lock type, turn it clockwise until it locks into place. Reattach the spring clip if your model uses one. Connect the electrical plug back onto the new bulb, making sure it clicks securely. Put the dust cover back on, twisting it clockwise to seal the housing. If you removed the bumper or fender liner, reassemble those parts now. Once everything is back together, reconnect the battery’s negative terminal. Turn on your headlights and check that both new bulbs are working. It’s also a good idea to check the beam alignment, though that’s a topic for another section. If everything looks good, you’ve successfully upgraded your Mazda’s headlights!
Working on your car’s lighting can seem intimidating, but with the right preparation and a methodical approach, it’s a task many Mazda owners can handle themselves. Patience is key, and taking your time will prevent mistakes and make the whole process much smoother.
Optimizing Your Mazda’s Lighting Performance
Understanding Beam Adjustment for Safety
So, you’ve got those shiny new headlights or tail lights installed. That’s great! But before you hit the road feeling all smug, there’s a really important step: adjusting the beams. If your new lights are aimed too high, you’ll be blinding oncoming drivers, which is not just annoying, it’s dangerous. Aim them too low, and you won’t be able to see the road ahead properly, missing out on spotting hazards. Proper beam alignment is key to making sure your upgrade actually improves safety, not just looks. It’s about making sure the light hits the road where you need it, without causing problems for anyone else.
Here’s a quick rundown of what to look for:
| Light Type | Aiming Goal |
|---|---|
| Headlights | Focus light on the road about 100-200 feet ahead, with a distinct cutoff line that dips downwards. |
| Tail Lights | Ensure they are visible but not overly bright to cause distraction. |
Tips for a Smooth Headlight Upgrade Process
When you’re swapping out your Mazda’s lights, things can sometimes get a bit fiddly. Don’t rush it. Take your time, especially when you’re getting to the actual bulb housing. Some cars make it easy, others… not so much. You might need to remove a fender liner or even the whole bumper on some models to get enough room to work. If you’re unsure, snapping a few photos as you take things apart can be a lifesaver when it’s time to put it all back together. It’s like a little visual cheat sheet for yourself.
Working on your car can feel like a puzzle sometimes. You might think you know where a screw goes, only to find out later it belongs to a completely different part. Having a clean space to work, with all your tools and new parts laid out, really helps keep things from getting mixed up. Losing a tiny screw can turn a quick job into a major headache.
Maintaining Your Mazda Headlights and Lenses
Once your new lights are in and adjusted, you’ll want them to stay looking good and working well. Over time, the plastic lenses on your headlights can get cloudy or yellowed from sun exposure and road grime. This really dulls the light output, making your fancy new bulbs seem less effective. You can often clean these up with a headlight restoration kit, which usually involves sanding and polishing. For tail lights, just a good wash and wax now and then should keep them clear. And of course, if a bulb does burn out, replace it promptly. Driving with one headlight or tail light out is a safety hazard and can get you a ticket.
Exploring Tail Light Upgrades for Your Mazda
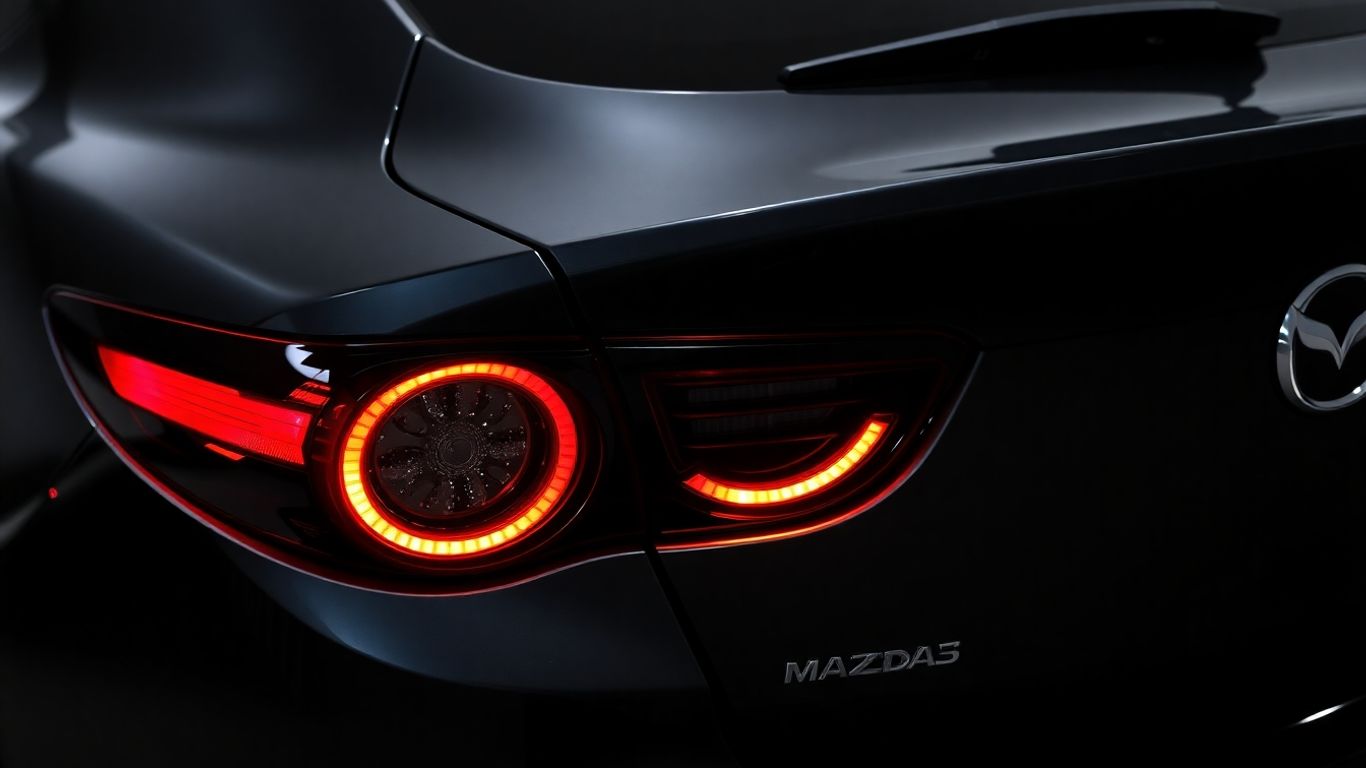
The Appeal of Upgraded Rear Lighting
So, you’ve thought about making your Mazda look a bit sharper with new headlights, right? Well, don’t forget about the back end! Upgrading your tail lights can really change how your car looks, especially when it’s dark out. It’s not just about making your Mazda stand out, though. Better tail lights mean other drivers can see you more clearly, which is a big plus for safety. Think about it: brighter brake lights, more visible turn signals. It all adds up to a safer drive for everyone.
Considering Different Tail Light Styles
When you start looking into tail light upgrades, you’ll find a few main types. You’ve got your basic LED replacements, which are pretty straightforward. They just swap out your old bulbs for brighter, longer-lasting LEDs. Then there are the full assemblies, which are a bit more involved. These often come with cool features like sequential turn signals – you know, the ones that light up in a sweeping motion. They can give your Mazda a really modern, custom look. Some people even go for smoked or tinted lenses, but you’ll want to check local laws on that before you buy.
When choosing new tail lights, think about how they’ll perform in different weather. Some designs might look great but could be harder to see in fog or heavy rain. It’s always a good idea to check reviews or ask for opinions from other Mazda owners who have made similar upgrades.
Key Considerations for Mazda Headlights and Tail Lights
Understanding Bulb Lifespans and Durability
When you’re looking at upgrading your Mazda’s lights, one of the first things to think about is how long they’ll actually last. Halogen bulbs, the kind most cars come with from the factory, usually give you about 1,000 hours of use. That might sound like a lot, but compared to newer options, it’s pretty short. LED bulbs, on the other hand, can easily last between 25,000 and 50,000 hours. That’s a massive difference! HID bulbs fall somewhere in the middle, typically lasting 2,000 to 3,000 hours. So, if you want lights that you won’t have to replace constantly, LEDs are definitely the way to go. Durability also plays a role; LEDs are generally more resistant to vibrations and shock than traditional bulbs.
Ensuring Compatibility and Quality Parts
It’s super important to make sure whatever lights you buy will actually fit your specific Mazda model and year. Not all bulbs are created equal, and trying to force the wrong one in can cause all sorts of problems, from not fitting at all to damaging your car’s electrical system. For most common bulb types, like H11, 9005, or 9006, LED replacements are usually plug-and-play, meaning they’ll fit right into your existing sockets. However, if you’re going for a full projector assembly or an HID kit, you might need specific components like ballasts. Always double-check the product description or ask the seller if you’re not sure. Buying from reputable brands also helps a lot; you’re more likely to get parts that are well-made and perform as advertised.
Adhering to Local Lighting Regulations
This is something people often forget, but it’s really important. Different places have different rules about car lighting. For example, some areas might have restrictions on the color of your headlights or tail lights, or how bright they can be. While upgrading to brighter LEDs or HIDs can be great for visibility, you don’t want to end up with a ticket because your lights are too intense or the wrong color. It’s a good idea to do a quick search for your local vehicle lighting laws before you buy anything. Making sure your new lights meet legal standards keeps you safe and out of trouble.
Upgrading your Mazda’s lights isn’t just about making your car look cooler. It’s about seeing the road better, especially at night or in bad weather, and making sure other drivers can see you too. Taking a little time to pick the right parts and check local rules can save you a lot of hassle down the road.
Wrapping It Up
So, upgrading your Mazda’s lights isn’t just about making it look cooler, though that’s a nice perk. The real win here is safety. Brighter lights mean you spot things sooner – potholes, people, signs, you name it. It really makes a difference, especially when it’s dark out. Whether you go for simple LED bulbs or a whole new projector setup, just take your time with the install. Make sure those beams are aimed right so you don’t blind anyone. A little effort now means a lot more confidence on the road later. Go ahead, give your Mazda the lighting upgrade it deserves.